Created 2012:
Early 2012, myself and my classmates were given our first project in our module Web Development. It was set to test our abilities in making a very basic HTML page. I realized that there was similarities between creating web pages and what I had learned using Java. Both require a good understanding of writing code. Taking what I had learned from lectures and also the recommended website (http://www.w3schools.com), I had to create five separate HTML files. Each one would be a track listing of five of my favorite albums. We were encouraged to be creative and unique as possible i.e use attractive fonts, appealing layout, video links, using CSS sheets. I used MAMP to run these pages via my local host.
Creating a basic interactive page
In addition to these 5 HTML pages, I incorporated my knowledge of PHP in order to introduce interactivity allowing a user to toggle between the pages. To begin with, I decided to create my HTML page first, with the drop down list. I had already created a CSS file with instructions so I was easily able to surround my drop down list with a nice border I set up. When I was creating the list, I assigned each album a number so that it could refer to it when I ran it through PHP i.e ‘One’ would relate to ‘Muse’.

Selection Page
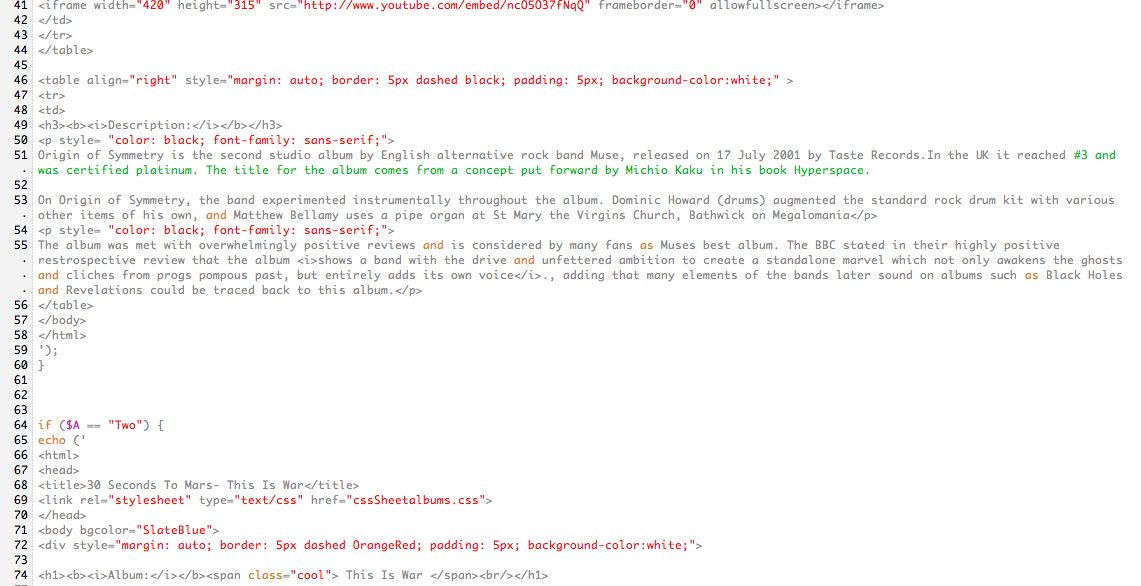
This meant that the HTML would call on the ‘myphp.php’ file that I had also created. Once I was satisfied that my code was correct and should work once I created the PHP file, I decided to design my page to make it more attractive. I set the background to sky blue. The page seemed very plain so I added some .jpg images to the bottom of the screen. Each image was of the cover art of each album (I also inserted a ‘Welcome’ picture). I manually set the location of each image to line them up perfectly (top: xxpx; left: xxpx) and also gave each image a dashed outline. I wanted to make each image clickable so I linked each image to the each of the band’s homepages. Whatever option was selected in my HTML link would open up the desired page. I set it that $A would be equal to whatever was selected in the drop down. In turn, I could then use if conditions to initiate pieces of code i.e if $A == ‘One’, then this would call on my code for the ‘Muse’ page and therefore linked the Muse option in the list and the album page together. In each album page, I made use of my CSS sheet and made the headings of each album page the same. I set each background and table colours differently to suit the artwork I placed in there. My aim was to make each page appealing and very clear. Using table tags I was able to neatly format my pages. I sometimes overwrote the original CSS settings to suit particular pages also i.e with the tags. A brief description of each album was placed at the end of each page in sans serif , for easier reading.

My Arctic Monkeys Page Screenshot

My The Strokes Page Screenshot
What I learned:
- Basic coding in HTML, PHP, CSS and how they interlink.
- Coding involved fonts, headers, colours, menus, tables, embed videos, images etc.
- How MAMP works.
- The importance of root files and their locations.
- Making pages user friendly to be aesthetically pleasing but also fully functional.
- Getting user feedback i.e. usability test, is very important.

PHP Screenshot 1

PHP Screenshot 2

PHP Screenshot 3